A Developer's Guide to API Design, Fetching Data, and Fueling Your UI
Dec 12, 2023
Dec 12, 2023
Dec 12, 2023


Introduction
Are you an engineering student trying to wrap your head around the intricate world of APIs, but finding yourself stuck in a maze of endless documentation and complex terminology? This article serves as your simplified guide to designing APIs, fetching data, and displaying it on your UI, specifically tailored for budding engineers.
API Design: The Backbone of Your Study Planner
The first step towards a functional study planner is a well-designed API. Our focus here is to create an API that serves the subject information needed for our study planner application.
We'll make use of the HTTP GET method to retrieve this data, because well, we're 'getting' data. Our API endpoint will look something like /api/subjects/:subject. Here :subject is a URL parameter that allows our frontend to request specific subject information.
app.get('/api/subjects/:subject', async (req, res) => {
    // Your code here...
});
How URL Parameters Work
Within the route handler, we use the Express.js framework to extract the :subject parameter from the request object. This value then becomes the basis for a MongoDB query, orchestrated via Mongoose.
const { subject } = req.params;This query fetches documents from the "Subject" collection with a matching "Sub" field, and if successful, the data is sent back as a JSON response.
MongoDB Schema and Model
Our MongoDB schema for the subject looks like this:
const subjectSchema = new mongoose.Schema({
  Std: String,
  Sub: String,
  "Textbook Sr. No": Number,
  Module: String,
  Chapter: String,
  Difficulty: String,
  Marks: Number,
  Hours: Number,
});
Fetching Data with Mongoose
We fetch the required data using Mongoose's find() method, based on the subject URL parameter received.
const query = { $or: [{ Sub: subject }] };
const subjects = await Subject.find(query);
Here's the catch though—either we successfully fetch this data and return it in the JSON response, or we handle errors gracefully. No crashing allowed!
Here is the entire block of code for reference:
app.get('/api/subjects/:subject', async (req, res) => {
  try {
    const { subject } = req.params;
    const query = {
      $or: [{ Sub: subject }],
    };
    const subjects = await Subject.find(query);
    res.json(subjects);
  } catch (error) {
    console.error('Error fetching data:', error);
    res.status(500).json({ error: 'An error occurred while fetching data' });
  }
});
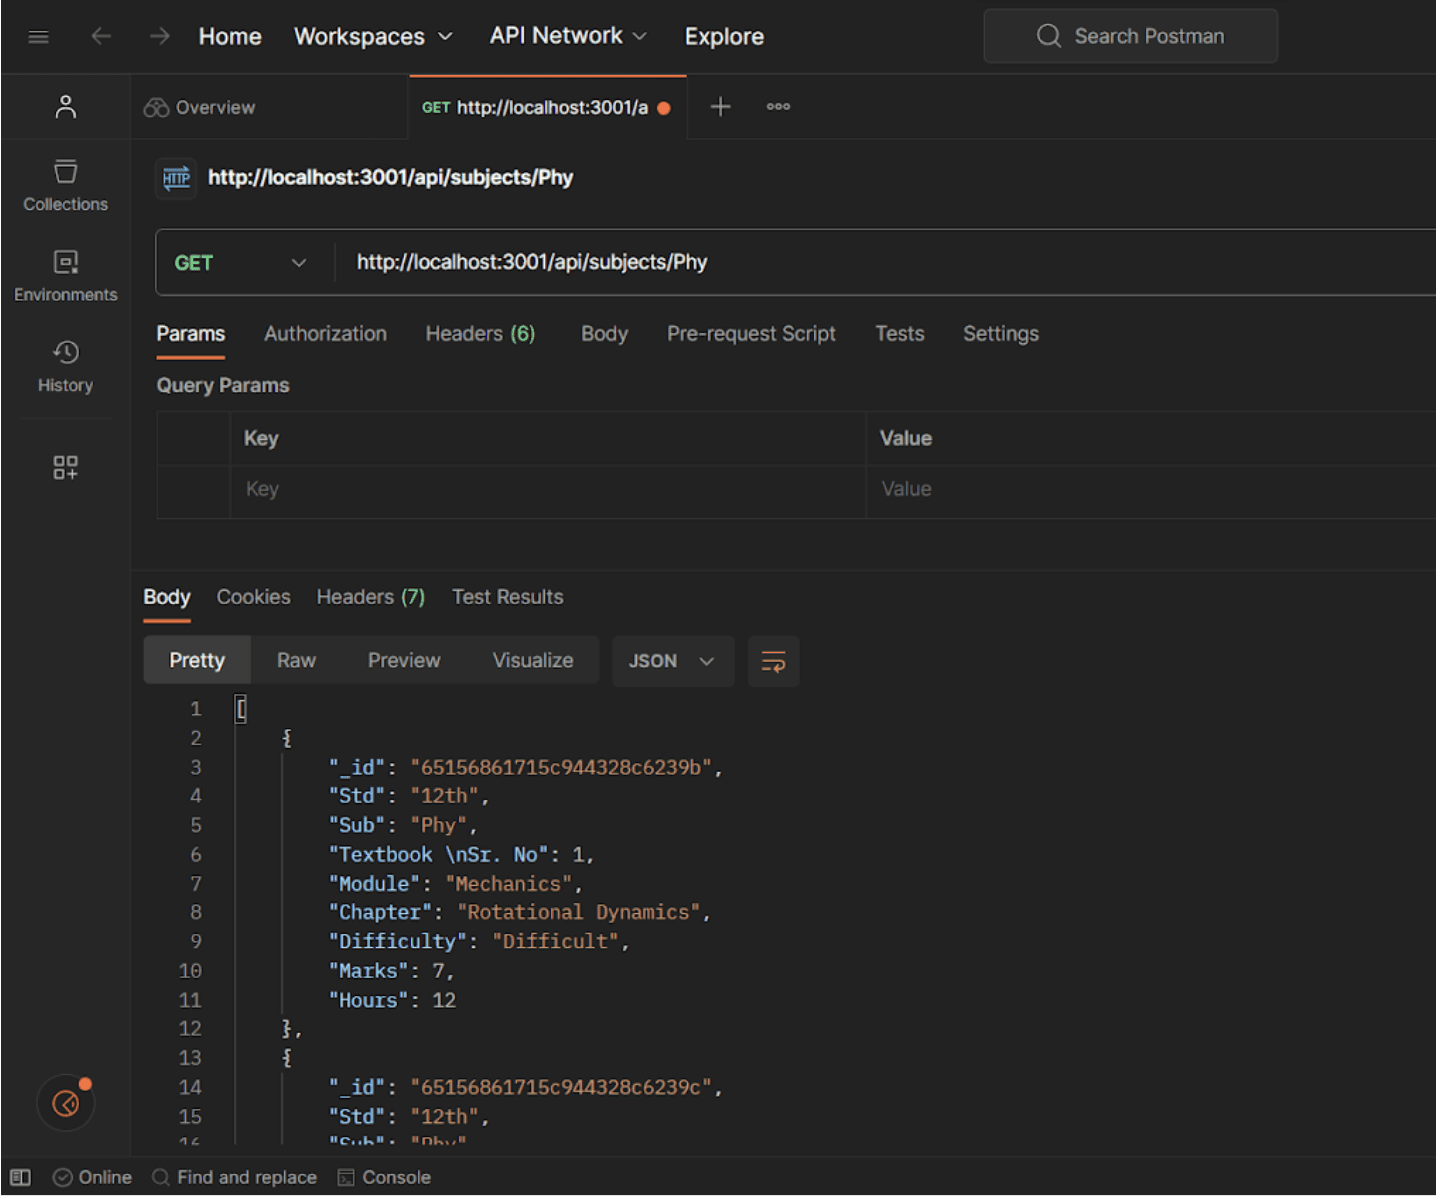
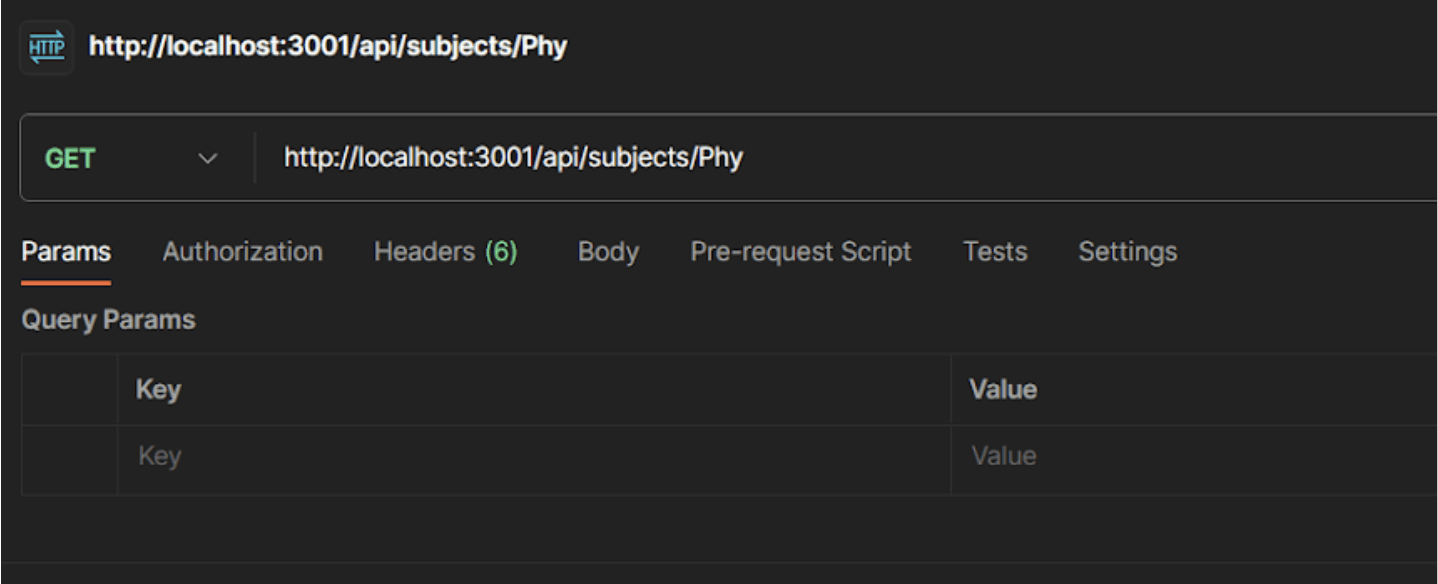
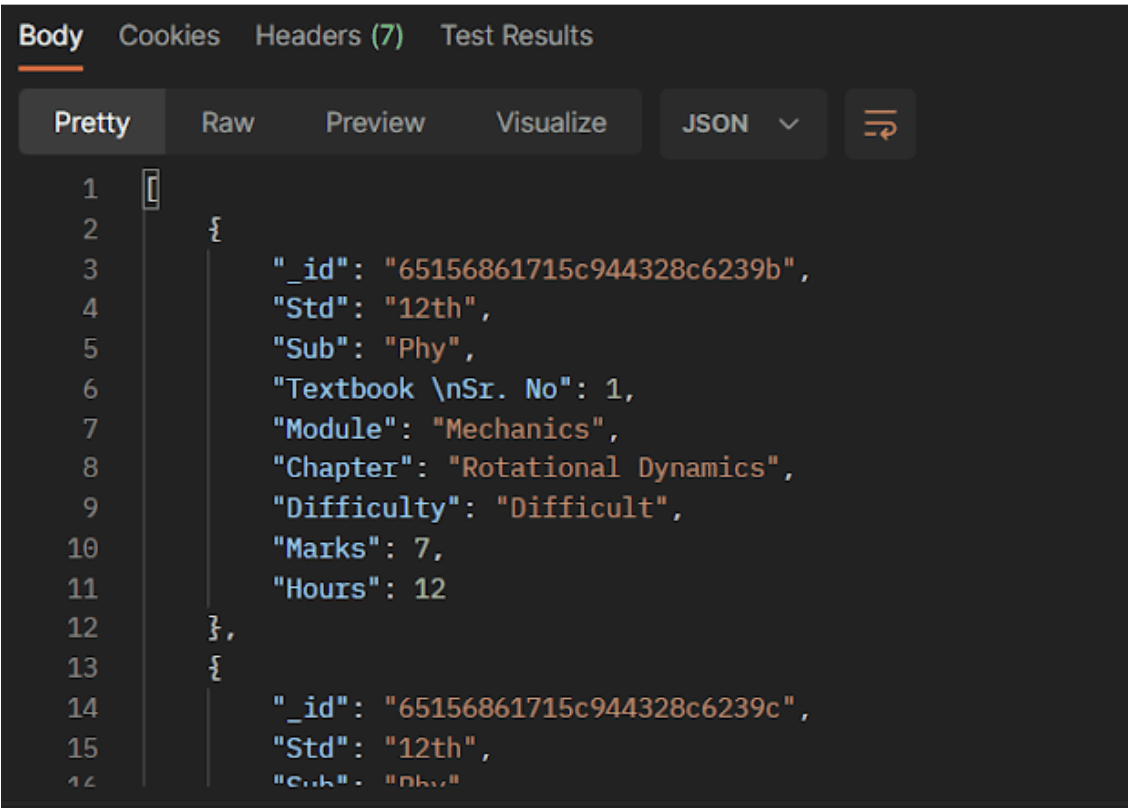
Here's a sample API Call made in Postman with Physics as the parameter:

The Call:

The Response:

Displaying Data on the UI: A Material Choice
When it comes to displaying this fetched data on our 'Subjects' screen, Material UI is our tool of choice. Material UI not only simplifies UI development but also ensures a consistent look across the application.
Step-by-Step Guide to Display Data
Step 1: Fetch the Data
We use an asynchronous function for this, because we want our app to be responsive even when it's busy fetching data.
const fetchData = async () => {
  // Your fetching code here...
};
Step 2: Error Handling
Always, and I mean ALWAYS, include error handling. We employ try and catch blocks for this.
const fetchData = async () => {
try {
const response = await fetch(`https://study-planner-backend.vercel.app/api/subjects/${type}`, { mode: 'cors' });
if (!response.ok) {
throw new Error("Network response was not ok");
}
const data = await response.json();
setSubjects(data);
} catch (error) {
console.error("Error fetching data:", error);
setError("An error occurred while fetching data");
} finally {
setLoading(false);
}
};

fetchData();
}, [type]);

if (loading) {
return <p>Loading...</p>;
}

if (error) {
return <p>Error: {error}</p>;
}
Step 3: Display the Data
Once the data is fetched, Material UI components like Table or List can be used to render the data effectively.
<SubjectTable type="Phy" />Reflection and Best Practices
Make sure your MongoDB is correctly configured; the wrong setup can lead to unnecessary debugging.
Learning Material UI is beneficial as it cuts down development time and effort considerably.
Conclusion
From designing a seamless API to fetching and displaying data, each step is crucial in the lifecycle of a dynamic web application. Hopefully, this guide serves as a comprehensive resource for Mumbai's engineering students striving to master these aspects.
So go ahead, build that amazing study planner you've been dreaming of!
Feel free to check out the demo video👇 for more insights.
Happy coding! 🚀
- Team HackeroX
Introduction
Are you an engineering student trying to wrap your head around the intricate world of APIs, but finding yourself stuck in a maze of endless documentation and complex terminology? This article serves as your simplified guide to designing APIs, fetching data, and displaying it on your UI, specifically tailored for budding engineers.
API Design: The Backbone of Your Study Planner
The first step towards a functional study planner is a well-designed API. Our focus here is to create an API that serves the subject information needed for our study planner application.
We'll make use of the HTTP GET method to retrieve this data, because well, we're 'getting' data. Our API endpoint will look something like /api/subjects/:subject. Here :subject is a URL parameter that allows our frontend to request specific subject information.
app.get('/api/subjects/:subject', async (req, res) => {
    // Your code here...
});
How URL Parameters Work
Within the route handler, we use the Express.js framework to extract the :subject parameter from the request object. This value then becomes the basis for a MongoDB query, orchestrated via Mongoose.
const { subject } = req.params;This query fetches documents from the "Subject" collection with a matching "Sub" field, and if successful, the data is sent back as a JSON response.
MongoDB Schema and Model
Our MongoDB schema for the subject looks like this:
const subjectSchema = new mongoose.Schema({
  Std: String,
  Sub: String,
  "Textbook Sr. No": Number,
  Module: String,
  Chapter: String,
  Difficulty: String,
  Marks: Number,
  Hours: Number,
});
Fetching Data with Mongoose
We fetch the required data using Mongoose's find() method, based on the subject URL parameter received.
const query = { $or: [{ Sub: subject }] };
const subjects = await Subject.find(query);
Here's the catch though—either we successfully fetch this data and return it in the JSON response, or we handle errors gracefully. No crashing allowed!
Here is the entire block of code for reference:
app.get('/api/subjects/:subject', async (req, res) => {
  try {
    const { subject } = req.params;
    const query = {
      $or: [{ Sub: subject }],
    };
    const subjects = await Subject.find(query);
    res.json(subjects);
  } catch (error) {
    console.error('Error fetching data:', error);
    res.status(500).json({ error: 'An error occurred while fetching data' });
  }
});
Here's a sample API Call made in Postman with Physics as the parameter:

The Call:

The Response:

Displaying Data on the UI: A Material Choice
When it comes to displaying this fetched data on our 'Subjects' screen, Material UI is our tool of choice. Material UI not only simplifies UI development but also ensures a consistent look across the application.
Step-by-Step Guide to Display Data
Step 1: Fetch the Data
We use an asynchronous function for this, because we want our app to be responsive even when it's busy fetching data.
const fetchData = async () => {
  // Your fetching code here...
};
Step 2: Error Handling
Always, and I mean ALWAYS, include error handling. We employ try and catch blocks for this.
const fetchData = async () => {
try {
const response = await fetch(`https://study-planner-backend.vercel.app/api/subjects/${type}`, { mode: 'cors' });
if (!response.ok) {
throw new Error("Network response was not ok");
}
const data = await response.json();
setSubjects(data);
} catch (error) {
console.error("Error fetching data:", error);
setError("An error occurred while fetching data");
} finally {
setLoading(false);
}
};

fetchData();
}, [type]);

if (loading) {
return <p>Loading...</p>;
}

if (error) {
return <p>Error: {error}</p>;
}
Step 3: Display the Data
Once the data is fetched, Material UI components like Table or List can be used to render the data effectively.
<SubjectTable type="Phy" />Reflection and Best Practices
Make sure your MongoDB is correctly configured; the wrong setup can lead to unnecessary debugging.
Learning Material UI is beneficial as it cuts down development time and effort considerably.
Conclusion
From designing a seamless API to fetching and displaying data, each step is crucial in the lifecycle of a dynamic web application. Hopefully, this guide serves as a comprehensive resource for Mumbai's engineering students striving to master these aspects.
So go ahead, build that amazing study planner you've been dreaming of!
Feel free to check out the demo video👇 for more insights.
Happy coding! 🚀
- Team HackeroX